How to Manage Users?
Add User
User registration can be done by two methods:
1. Auto provision: where users will sign up to your system using your account domain.
2. Manual Set up: Alternatively, you can add users from the account manager as below:
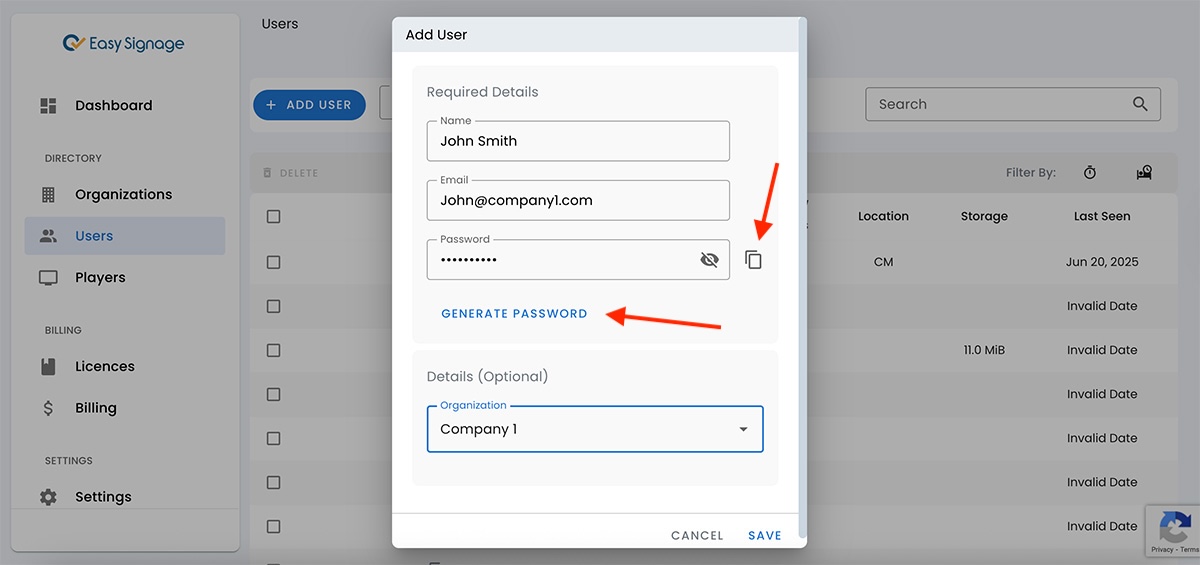
- Click on ADD USER
- Enter Name
- Enter User Email
- Enter a new password, you can also choose to have one auto-generated for you. Be sure to copy the password before saving, as passwords will not be visible after this point.
- Optionally assign the user to an existing organization
- Click on Save.
Users Page Functionality
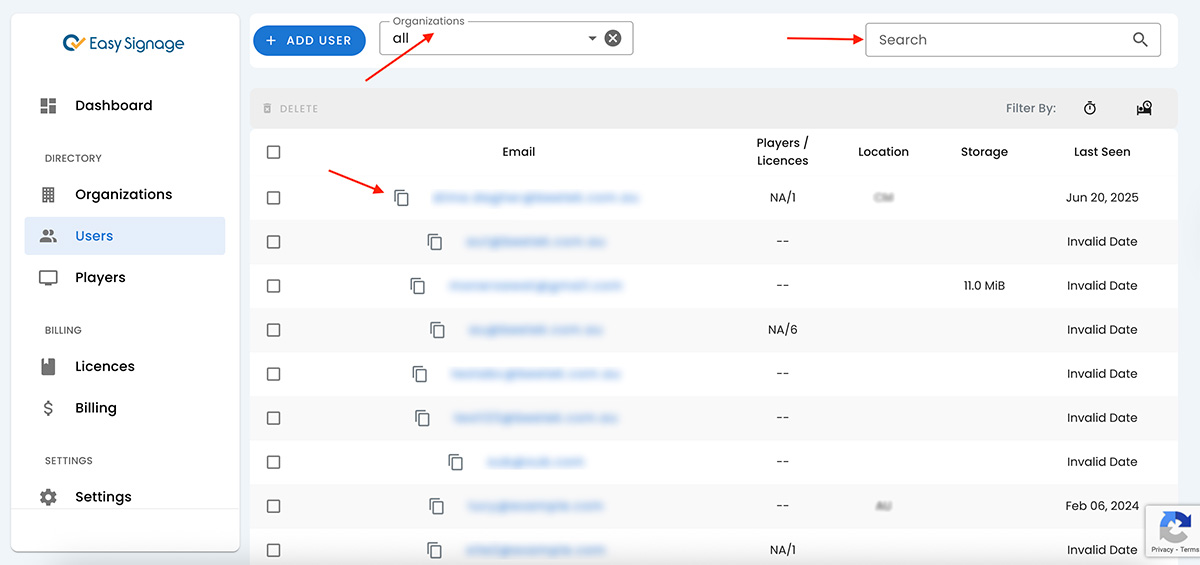
Filter by Organization:
Filter the users list by organization. Select an organization to see its users.
Search by email:
Search users list by email.
Copy users email:
To copy the email address, use the button  on the left of the email.
User Management
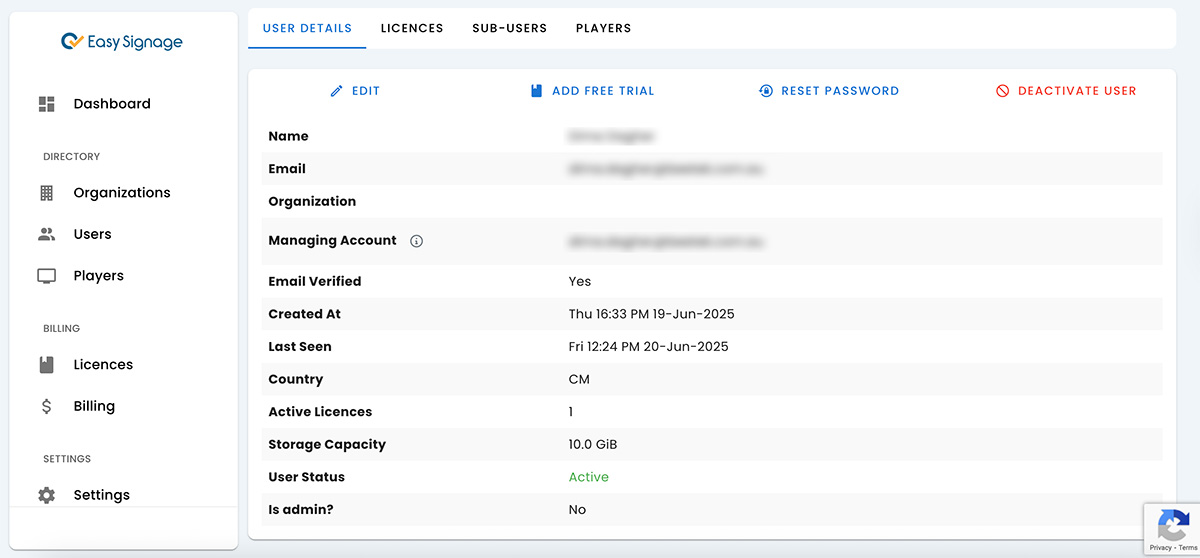
To view and manage the user details, click on the email address.
User Details
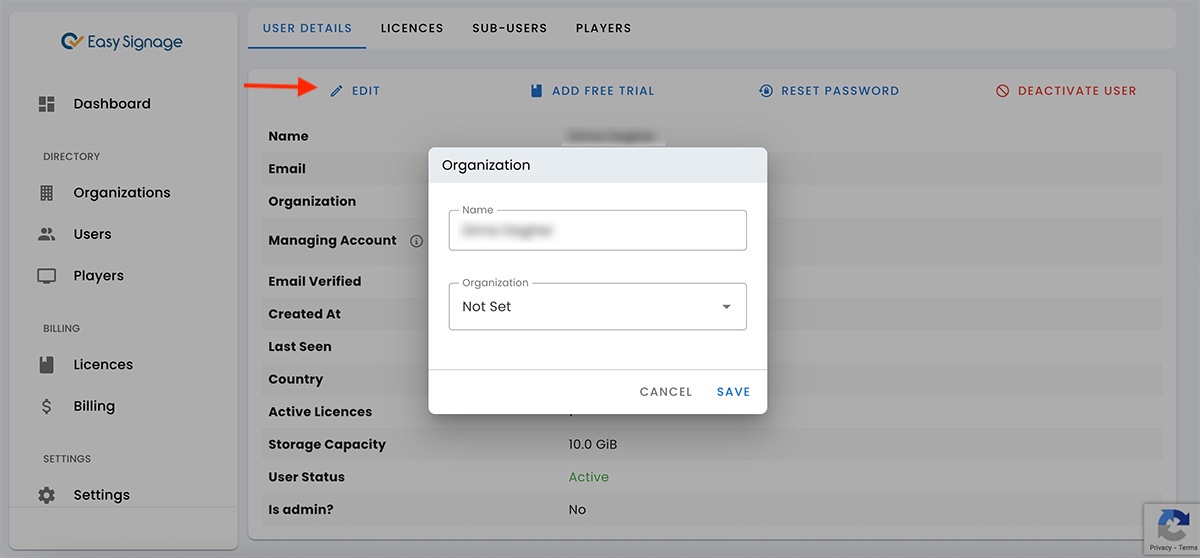
Edit
You can edit a user’s information.
- Click on EDIT
- Change the user’s name
- Choose an organization or “Not Set”
- Click save
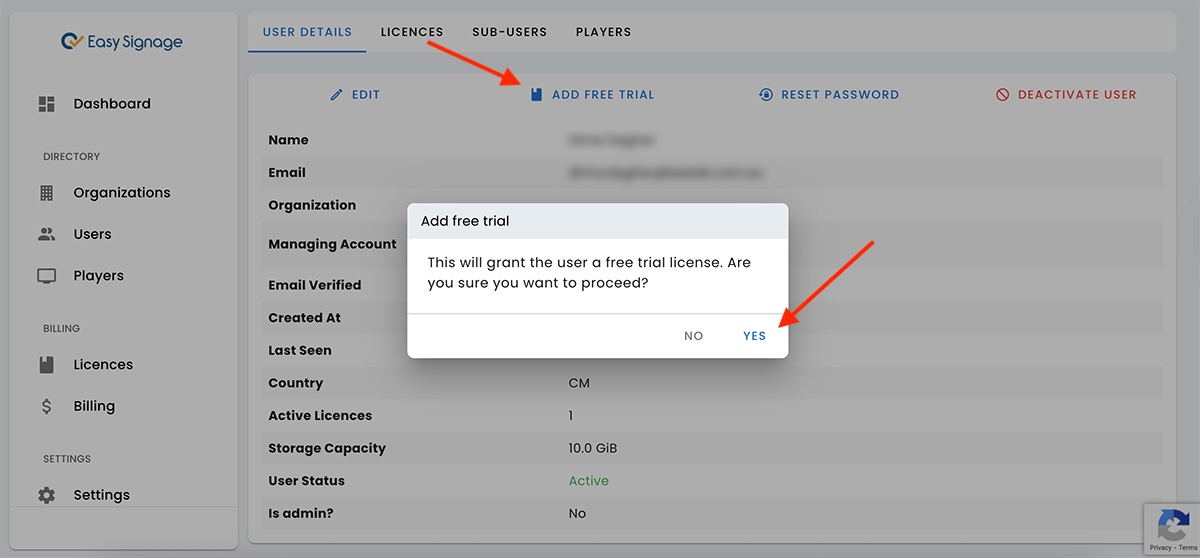
Add trial
Users who sign up can have a 30-day free trial. If the user is manually added, the trial can be added using this function.
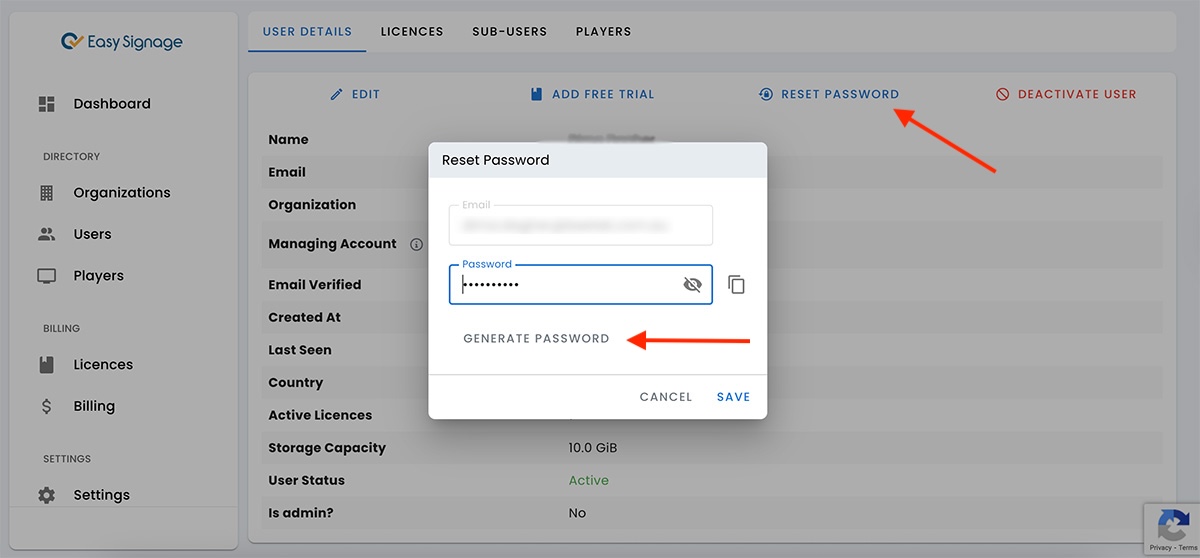
Reset Password
Reset the user’s password and generate a new one. You can either input a custom password or auto-generate one. However, resetting the user’s password is not recommended if they use SSO. If they do, they should continue with Google or Microsoft.
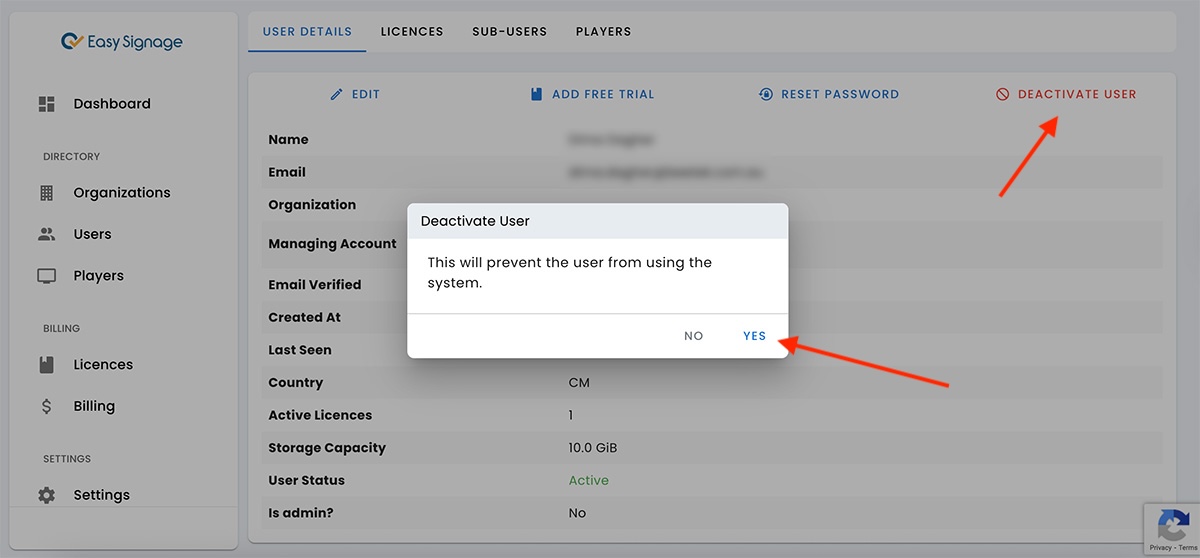
Deactivate user
Disabling a user’s account will revoke their access, but their data will not be deleted.
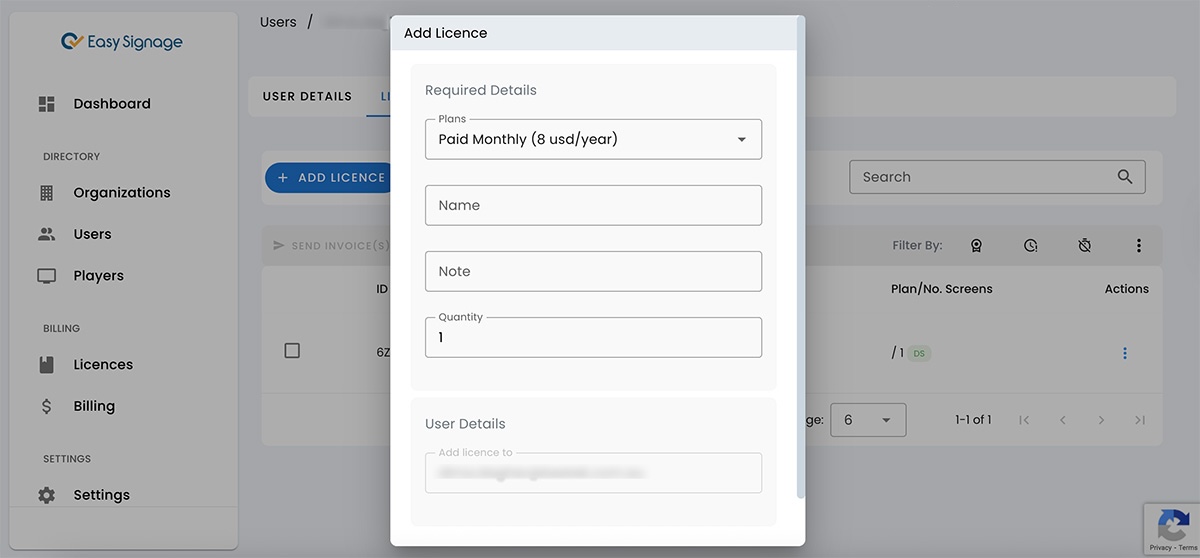
Licences
The Licences page displays all licenses currently assigned to the user. To assign a new license, click on “Add License”.
Click here for more information on licences
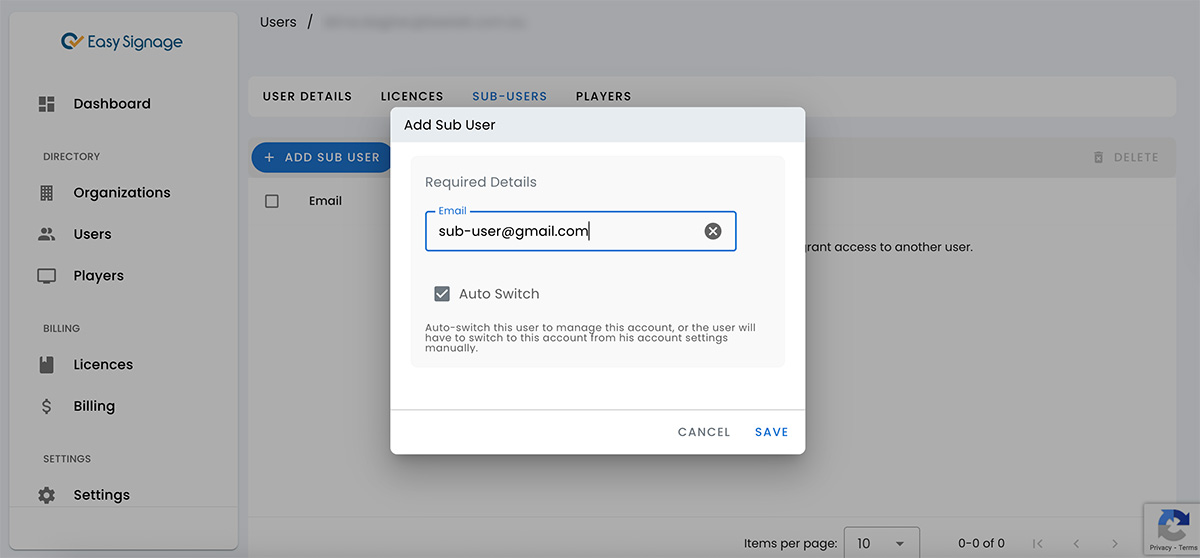
Sub Users
Sub-users can be added to the main account by entering their email addresses . Once added, sub-users will have full access to the account. To modify access, use the client portal/user management page
Auto-switch user to manage the main account, or the user will have to switch to the main account from his account settings manually.
Players
- You can view a list of all user’s players and their current status. Click here for more details on the players’ page.
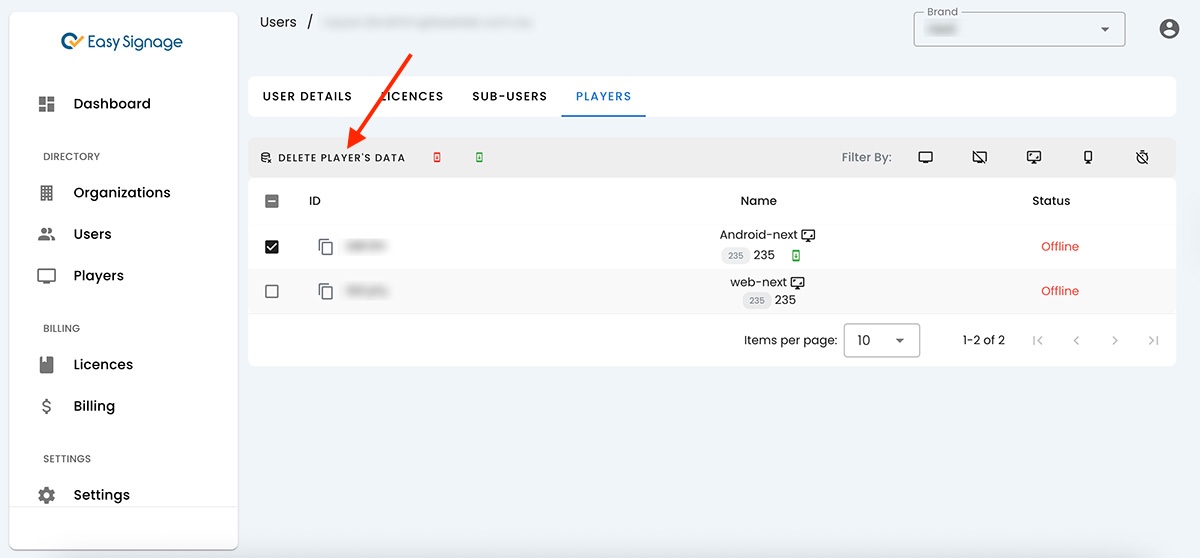
- You can delete players’ data for your users:
- Select the player whose content you want to delete by checking the box next to their player ID.
- Click on the “DELETE PLAYER’S DATA” button.
- Confirm that you want to delete the selected player’s data.
Please note that deleting a player’s data will not remove the content from the user’s account on the management console. It only removes the data from the screen.
If you need to resend the data to the player, the user can visit the management console and click on the “publish” button to send the content again to the player.
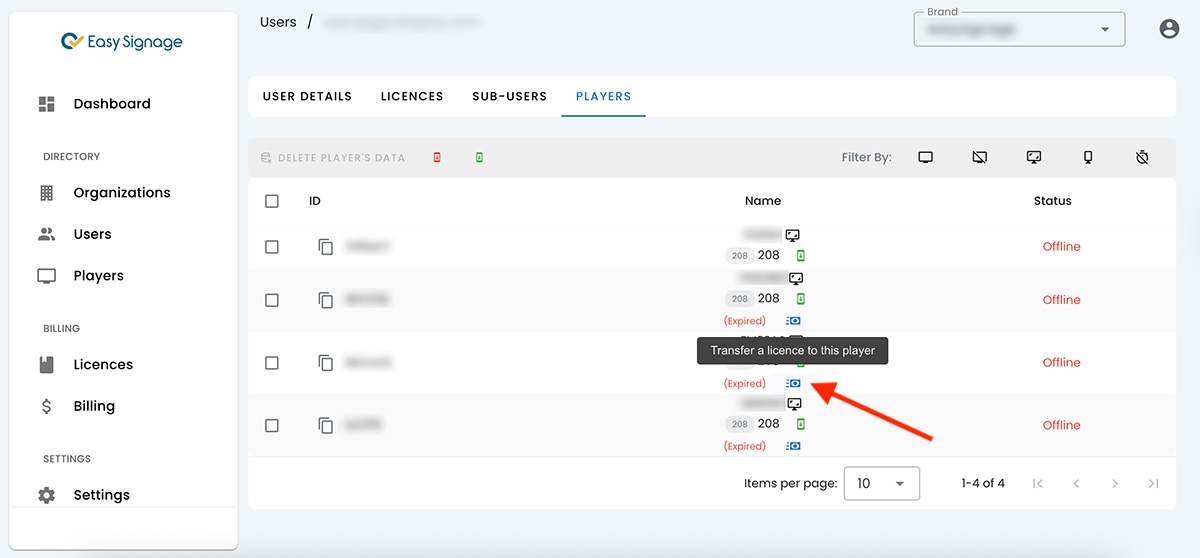
- You can transfer a licence from one active player to another with an expired licence:
- Click on the expired player to transfer a licence.
- Select a player from the drop-down list to transfer the licence from.
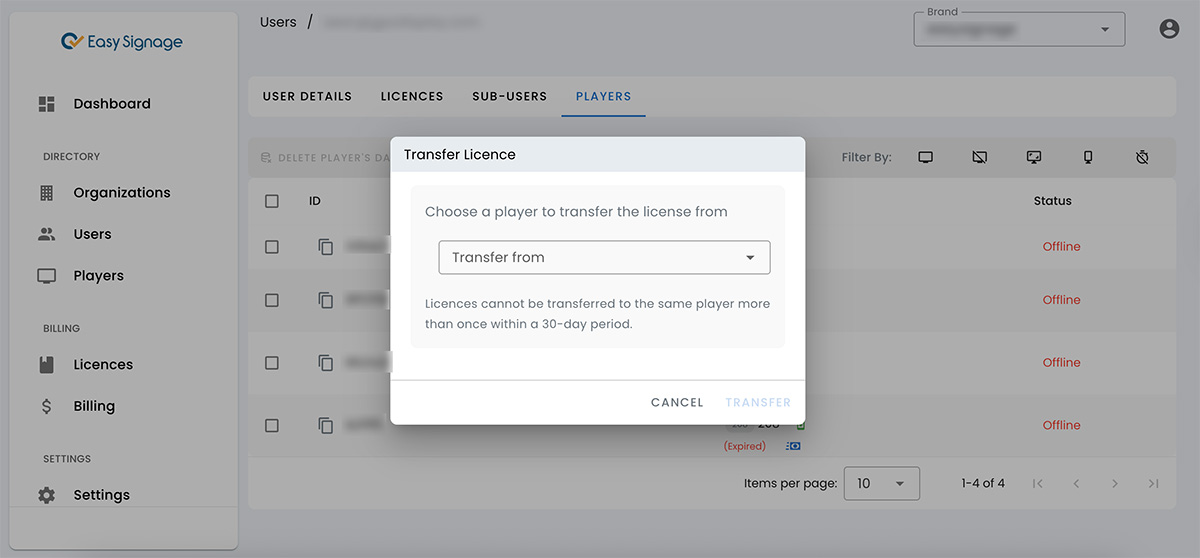
- Click on TRANSFER.
Note: A Licence cannot be transferred to the same player more than once within 30 days.